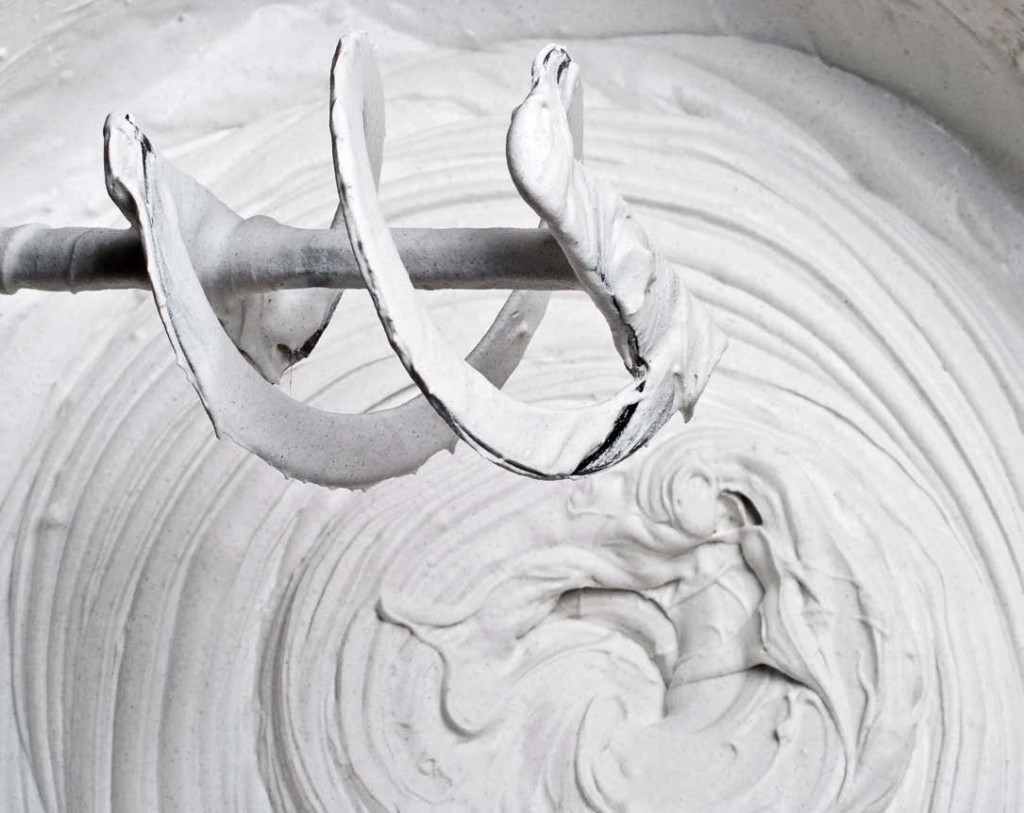
Painting walls- the most inexpensive and beautiful way interior decoration rooms. However, painting is the final decorative treatment, but it is preceded by the very painstaking work of leveling the wall surface using plaster. Therefore, the science of how to putty walls for painting must be mastered in advance so that the painted walls are smooth, without errors or unevenness.
Surface preparation
The painting process includes the following work:
- Cleaning the walls of the room from old plaster.
- Surface leveling (puttying) before painting, consisting of a starting and finishing procedure.
- Directly painting the walls.
The first stage of cleaning involves removing the old plaster. Everything that was on the wall (tiles, paint, wallpaper, etc.) needs to be cleaned off with a hard spatula in selected places. If there are large uneven spots, cracks or bulges on the wall, then it is better to re-upholster and re-plaster such areas.
When cleaning walls, you should be careful in areas where electrical wiring may run to avoid electrical shock.

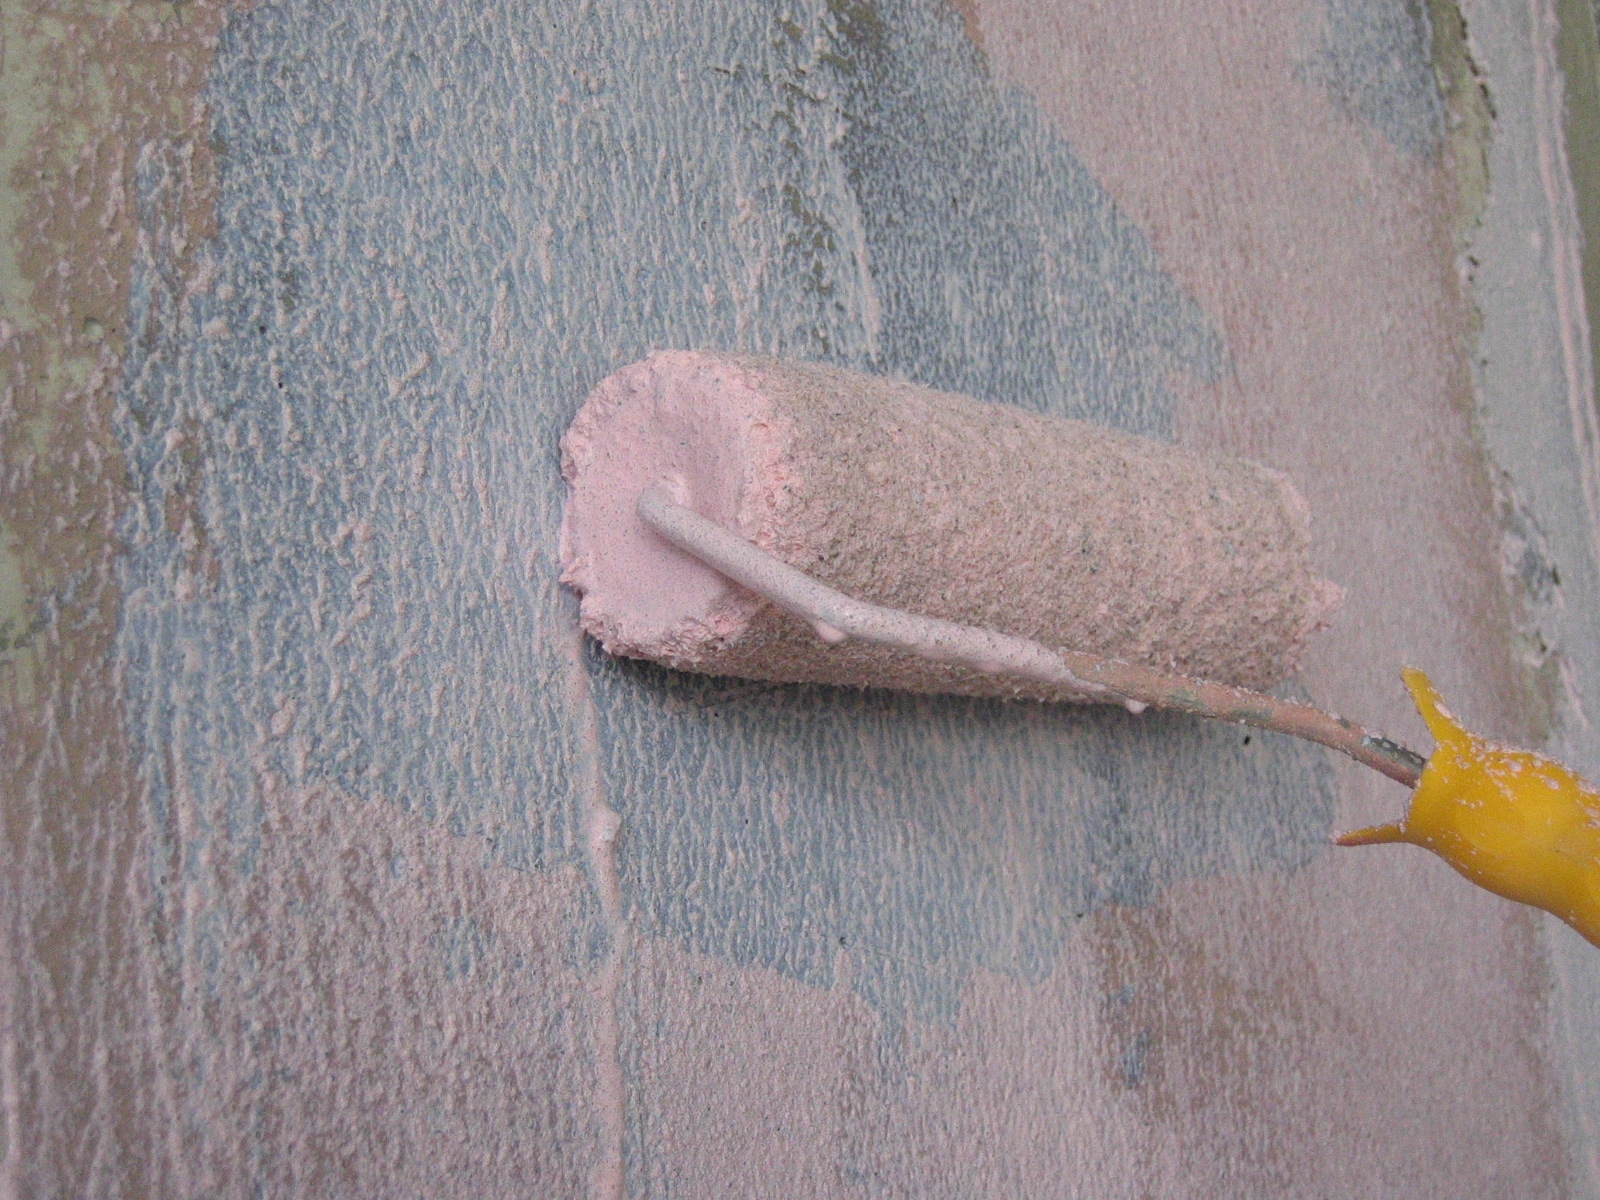
For better adhesion to the surface, it is recommended to pre-treat the wall with a primer with good penetrating ability and antibacterial additives. Sometimes special antifungal compounds with fungicides are used. This is easily done with a roller or brush. The drying time is usually indicated on the package with the primer solution (about 6 hours). Next, we proceed directly to plastering the walls: we need to tell you in more detail how to putty all the unevenness.
Putty work
Plaster on the wall surface- this is a layer of fairly large particles, and the putty consists of smaller ones. When puttying, several layers are made, each of which must dry well after work. After applying each layer, the surface is sanded, primed, and then the next one is applied. This work may take several days.
Puttying walls for painting is done in order to create a flat surface on which the paint will adhere well. The number of layers to create a smooth surface is standardly three, but some experienced craftsmen

they do 5-6.
Preparing tools
- for primer: wide brush and roller;
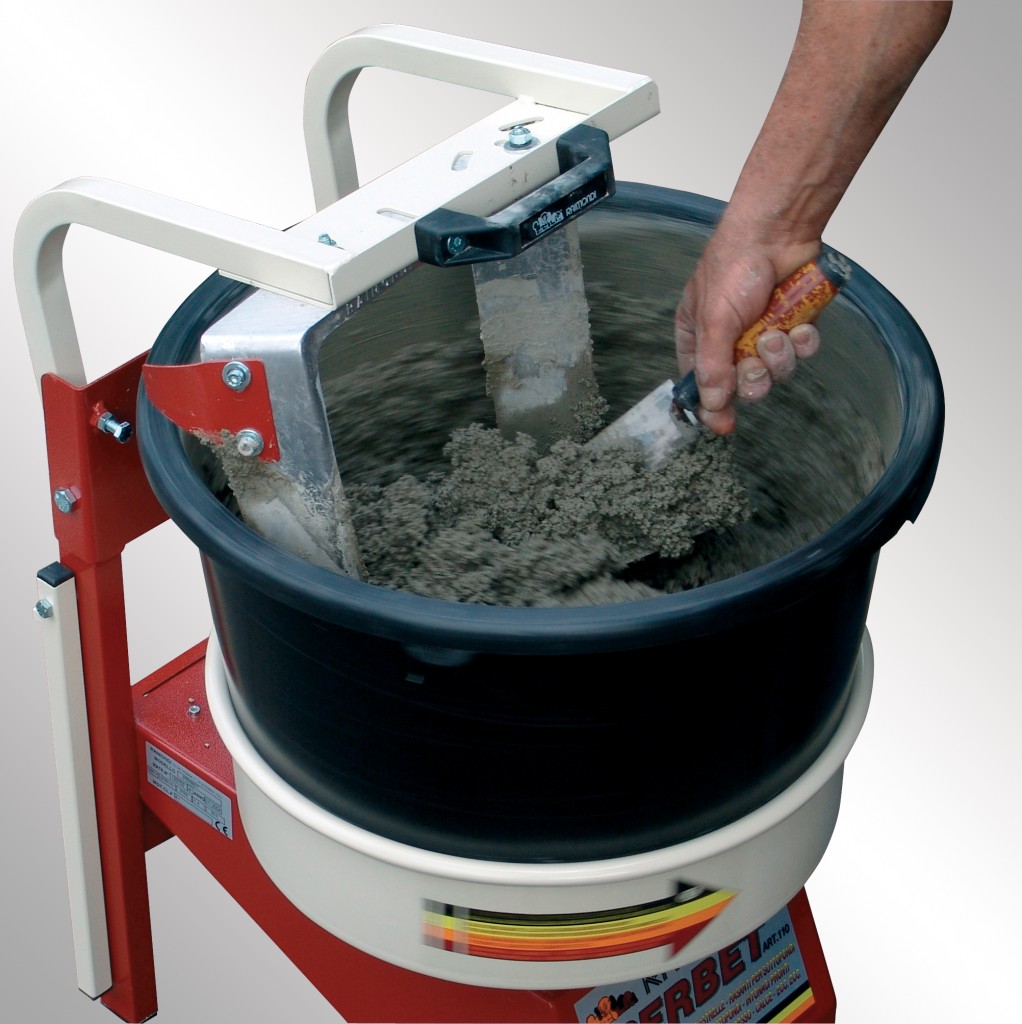
- To mix the putty mixture, it is better to stock up on a special mixer;
- spatulas and grout mesh (preferably fine-grained).
It is necessary to select the main tools (spatulas) of several sizes at once. The large one is 50-60 cm wide, the medium one is 25 cm (used for working in corners), the small one is 5-10 cm wide (for accessing inconvenient places and for filling in errors).

A corner spatula is sometimes used to handle corners. It is convenient for them to putty, and the planes turn out to be quite even.

Starting putty stage
The first stage is applying basic putty, i.e. gypsum, with the addition of special additives. To understand how to properly putty walls for painting, we will tell you in more detail:
1. The technology for puttingtying walls is as follows: using a wide spatula, apply the base putty with a layer of such thickness as to hide the depressions and bulges on the surface (usually 3-12 mm).

2. After applying and spreading the putty on the wall, the excess should be removed with another small spatula. As a rule, the speed of work depends on the size of this tool - the wider the spatula, the faster the process will go (30-40 cm).

3. To save effort and time, it is better not to make layers between a fresh layer of plaster and an already dried one. It is not necessary to wait for complete drying; the next layer can be applied to slightly damp putty walls. In this case, there is also no need to prime each layer. How many layers of putty need to be applied depends on the number of uneven spots on the wall.

4. After the starting layer has dried (this usually takes 6-8 hours), it is grouted with coarse coarse sandpaper or sanded.
![]()
On video: how to properly putty walls.
Finishing
The finishing putty for painting is done on top of the base putty to create a completely smooth and ideal surface, ready for painting. The finishing layer is usually thinner (2 mm) and the technology itself for puttingtying walls for painting is slightly different:
1. The mass that is smeared on the wall must be cleaned off almost completely, leaving a very thin layer that will fill small irregularities.
2. The number of finishing layers depends on how well the initial wall putty was done. One way to check how smooth the surface is before painting is to use a bright spotlight, which is positioned so that the beam of light falls at an angle.

3. Irregularities on the wall are cleaned off using an abrasive fine mesh, after which it is necessary to remove dust (with a vacuum cleaner or a rag), cover with a primer and leave the wall to dry.

4. After puttying, you can already paint the walls.
You should know that all layers must dry naturally. The use of heaters and fans can cause cracking and shedding.

In the video: final alignment of walls and ceiling.
The technology of puttying walls for painting requires skills and experience, so a beginner who putsty walls with their own hands is unlikely to be able to do it perfectly. But you can increase the quality of work if you know some nuances:
- When preparing the mixture, it should be taken into account that it dries quickly (45-60 minutes), therefore it is not advisable to dilute more than 5 kg at once.
- The mixture is diluted only in clean containers.
- First, take the putty composition with a small spatula and apply it to the large one, then to the surface of the wall.
- There are several methods of puttying: horizontal, vertical, “bouquet”, “herringbone”, “zigzag”.
- We select the methods of tilting the spatula for a more even layer on the wall ourselves, the main goal is to cover all the depressions.
- To check the plane of the surface, use the attached metal rule, which can be illuminated with a flashlight for accuracy. It will highlight all the errors that can be cut off with the sharp edge of a spatula.
- Scratches from the spatula must subsequently be puttied with a finishing layer.
- The corners should be leveled with a corner spatula.
- Sanding the surface is done either with a sanding machine or with a net, after which it is better to vacuum the wall and prime it.
- All tools and utensils must be washed and wiped dry after work.

Types of putties
Before starting work on preparing the walls, you need to figure out which putty to choose for the walls to be painted. There are several types of putty materials on sale:
- Cement mixture - has high reliability, is almost not susceptible to moisture, therefore it is used for sealing walls in the kitchen and in rooms with high humidity (bath, toilet). It is usually used only for the starting layer, because... because of gray the composition is unsuitable for subsequent staining.

- Gypsum - used for finishing only living rooms due to the fact that it does not like high humidity. After applying this mixture, a smooth surface is obtained. white, which is ideal for coloring.

- Polymer - the highest quality, but expensive putty, used exclusively for the finishing procedure. It hardens slowly, but then forms a perfect, flat surface.

The most popular putty manufacturers on the market are Knauf, Tex, Vetonit and Sheetrock. A specialist can recommend which putty is best for walls in a particular case when purchasing.

Putty for walls for painting is selected based on the purpose of the room and the existing humidity. There are waterproof materials designed specifically for rooms with high humidity. Putty mixtures are usually sold in 25 kg bags, this amount should be enough for an apartment. Finishing putties are packaged in plastic buckets of 3.5 or 7 kg, superfinish is also available in 1.5 kg packaging.
No repair can be imagined without putty work. Thanks to them, a completely flat surface is obtained for subsequent finishing. Today the most promising type finishing works is painting. And even most modern facing materials are made with the prospect of further coloring. Thanks to this, the interior of your apartment will always look unique. Therefore, puttying walls for painting should be done as perfectly as possible. When performing repairs yourself, you need to familiarize yourself with all the nuances of putty work.
A set of tools for performing work
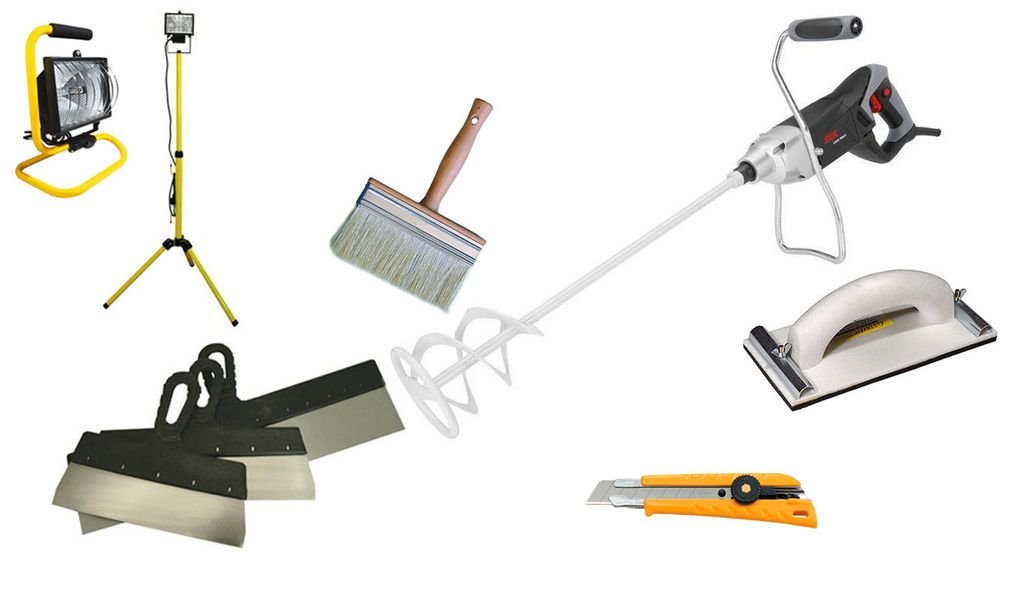
To prepare and apply putty on the walls with your own hands you will need:
- dry putty;
- bucket for preparing the solution;
- poppet, for applying primer;
- construction mixer or hammer drill/drill with a whisk attachment;
- 3 metal spatulas: it is better to choose a wide one for applying the solution to the surface, a narrow one for supplying the solution, and a corner one for correct formation angle;
- reinforcing tape;
- grout block with mesh;
- cotton or rubber gloves;
- lamp for lighting.
How to prepare a surface for putty?
The technological process of puttingtying a wall for painting is no different from preparing it for wallpaper. But there is one important point: the wall or ceiling must be puttied very well, because even the slightest defects on the surface can be seen under the paint. The final result depends on how well the surface is puttied. painting works. Puttying the walls before painting hides all the unevenness, roughness and seams. It is necessary to putty before painting both a regular ceiling and a suspended plasterboard ceiling.
Do-it-yourself putty work must begin with dismantling the old coating. To do this, the surface is cleaned of whitewash, paint and possible irregularities on it. Old stains from dampness, fungus and rust are carefully treated. After removing old wallpaper, peeling putty may remain. It must be removed to avoid destroying the new putty.

Cracks in the ceiling and walls are repaired, primed and puttied. You can widen the crack using a spatula, making it wider.

After puttying, a special reinforcing tape is glued onto it to prevent the crack from appearing again in the future. The tape is puttied.

After the surfaces have completely dried, they are sanded using a trowel block with a mesh.

If the ceiling or walls have very large visible irregularities, they must be covered with sheets of plasterboard and also puttied.
How to apply finishing putty correctly?
After the surface has been leveled with the starting putty and it has dried, it is time to apply finishing putty. It is diluted according to the instructions, mixed and applied in a thin layer of 1-2 mm to the wall using a wide spatula. Since all wall defects have already been removed starting mixture– applying the finishing coat is much easier and faster.
![]()
In order to mix the solution, you need to dial a large number of water into a bucket, pour the dry mixture into it according to the instructions and use a mixer to stir the solution. Its consistency should be similar to medium thick sour cream.
The spatula should be held at an angle of 80°. This way the putty will lay down evenly, thinly and without streaks. After this, remove the remaining mass from the spatula and apply it again. A small putty knife can be useful for putting putty into corners or hard-to-reach places, such as behind pipes. To make the surface smoother, you can apply 2 layers of finishing putty.
When making repairs yourself, keep in mind that drywall is much easier to putty. It is enough to fill the seams and dowel holes with starting putty, wait for it to dry and the surface is ready for applying a base for painting.
Once everything is completely dry, you can start sanding the surface using a fine-grit grout block. Do not press too hard on the block to avoid scratching the putty. Stock up on a respirator or gauze bandage, special plastic goggles and put on a hat. When grouting, a large amount of dust is formed, which gets into the eyes and respiratory tract of a person.

After the walls and ceiling have been sanded, you need to take a high-power lamp and carefully examine the entire surface for possible missed irregularities. If there are any, clean them. Then you should take a duster or soft cloth and wipe off the dust from the surface. If you do not do this, when priming, visible drips from the primer and pellets may form. After priming the walls and ceiling, let them dry for 2-3 hours and you can start painting.
A little about finishing putty
All putties for painting contain modifying components. They make the mass pliable and more plastic.
If you are making repairs with your own hands and you are faced with the question of which putty to choose, familiarize yourself with the qualities that a good dry mixture should have:
- it should be easily applied to the starting base, not reach for the spatula and lie down without the formation of lumps;
- when applied in a layer of no more than 3 mm, no defects in the starting putty should be visible;
- the putty should not flow down the wall;
- after drying, cracks and cavities should not form;
- The color of the putty wall should be an even shade of white.
When choosing a dry mixture, you should also take into account the hygroscopicity of the mixture. If the mixture is to be applied to an uneven surface, it should be primed. Please note that gypsum does not tolerate moisture.
For an inexperienced person, the whole process may seem complicated, but as soon as you get started, you will immediately realize that you can easily do the repair yourself.
Wall putty is needed to prepare the surface for wallpapering or painting. Of course, with the help modern technologies and materials, you can get a surface that is suitable for any finishing options, but work of this level is not cheap.
Therefore, the option of wall putty is still the most relevant. It is advisable to putty the walls yourself for the following reasons:
- A putty wall can be redone many times and defects can be eliminated without reducing the quality of the coating;
- Materials for puttying are inexpensive, not difficult to work with, and the consumption is not high;
- Independent plastering of curved elements made of plasterboard does not seem feasible, but to order it is not cheap, and puttying the same elements is no more difficult than puttingtying walls;
- The cost of puttying walls by a team is approximately the same as the cost of plastering work;
If puttying is done on old plaster, paint or wallpaper, you will have to remove them. It’s good to use special washes for this. After this, the room is dried (usually a day is enough for this) and the walls are inspected, and small residues are removed with a knife or flexible spatula.
To check the relief, use a flashlight and a plaster rule: attach the rule to the wall and illuminate it with a flashlight. Small bumps and holes become clearly visible. Sharp protrusions must be immediately knocked down with a plaster spatula or plane; the holes must be outlined with a pencil.
Before work, the entire tool is thoroughly wiped from dust and dirt with a rag, washed with detergent for dishes and wipe with microfiber or cotton rags. Special attention you need to pay attention to the mixer for the drill and the bucket for kneading - if you find lumps of the previous compositions, they need to be picked out.
Everything is very simple, the most important thing is not to pour too much water:
- If the bucket is a construction one, then fill it 1/4, or if the bucket is a household one, then fill it 1/3, and fill it with clean water.
- We pour the mixture in a thin stream until the top of the pile appears in the water.
- We wait from 5 to 30 seconds until the pile is saturated with water and sags; There should be no visible dry lumps.
- Stir quickly but thoroughly for 2-3 minutes, preferably with a construction mixer.
- We wait another 1-2 minutes.
- Stir again, just like the first time. The mixture is ready.
IN putty mixtures Neither dry composition nor water can be added. As it turned out, that’s how we work. There is nothing terrible about this, the putties are tolerant of the amount of water, and after drying they can be smeared and wiped with an abrasive.
Note: You need to knead in portions so that there is a reserve of time until the end of the shelf life.
We apply it in small portions on a wide spatula, and everything should be approximately calculated; you should try to apply the spread in one stroke.
Cracks and holes are rubbed either with a medium spatula, gaining consumption from a wide spatula, or with a wide spatula, guided by the size of the holes. Grouting of holes and cracks is carried out with sweeping movements, with uniform pressure.
- pull the spatula slowly, pressed down. Any putty has thixotropic properties and, with equal force from different sides, will quickly disperse as it should.
During drying, take precautions: direct sun, drafts, and directed heat flows are unacceptable. Cracks during drying are not so bad; improperly dried putty can warp, but it will only be noticeable when applying the final coating. Ventilation of the room should be only internal, without noticeable changes in temperature and air flow. That is, the doors should be open indoors, not to the balcony or to the entrance.
The drying time in the instructions is stated to be more than 16 hours, but most often just 11-12 is enough to harden the putty. It’s still better to sand the wall no sooner than a day later: you’re self-employed, so there’s no hurry, let better coverage will be more durable. A durable coating makes it easier to work with and the result is smoother.
How to putty walls under wallpaper
The wall on which they plan to glue the wallpaper is puttied with a wide spatula; an overlap of 15-25% is allowed. The spatula should be held at an angle of 15-30 degrees; the main thing is to learn to hold the pressure, then the layer will be thin, 2-4 mm. The smaller the angle of the spatula, the thinner the layer will be, but do not overdo it, otherwise the layer will be either torn or lumpy.
Next, the putty is dried, irregularities are removed with an abrasive jointer and checked for evenness using a flashlight. If necessary, the bumps are removed with abrasive, and the holes are lubricated. It rarely works the first time; it may take up to 5 approaches until you achieve a good result.
After the wall has completely dried, sandpaper, numbers 80-120, is passed over it. The finer the grain, the higher the number. They start with circular movements, and then take a run with less pressure to remove marks after the circular movements. Again everything is checked with a flashlight. If there are no reflections, it’s ready, leave it to dry for another day.
How to putty for painting
The main difference from wallpaper putty is an additional operation: after leveling the wall and grouting with abrasive, the final layer of plaster is applied, acrylic enamel– special, durable and white.
Sanding should be done with sandpaper with a grit of at least 150. For a mirror surface, the wall is additionally polished with a suede trowel. The suede cover must be replaced with a new one if the falcon has been used previously.
How to putty corners and slopes
For beginners, it is usually advised to leave the corners and then rub with abrasive. If you have to silicone something before plastering the walls, then the work can be simplified by increasing its quality.
- After using up the silicone, we disassemble the packaging (tube) from under the silicone, remove the remaining silicone and wipe it with a rag, which must be generously moistened with table vinegar;
- When plastering the walls, the corners must be left free;
- After the walls have dried, fill the silicone pipe with putty and squeeze a “sausage” into its groove; preferably in one movement from bottom to top;
- We use an angled spatula, just like when plastering lighthouses;
- After drying, level with abrasive;
Note: you can use a pastry syringe for more expensive option. On foam or microporous rubber gaskets secured with electrical tape in a gun. The syringe also comes with a set of attachments, so decorating the walls in the shape of a pastry or cake will not be a problem; you can also paint it.
The putty on the slopes is removed with a spatula in any way convenient for you, the sagging is removed with an abrasive, and the evenness is checked with a flashlight. There are no special differences from puttying corners and walls, but the work is very painstaking and even a professional rarely succeeds on the first approach.
What can we say in conclusion? Correct putty walls is a rather labor-intensive process, it requires a lot of attention, but technologically it is not difficult, and defects can be easily corrected before final finishing. And, secondly, it saves money and knowledge gained during work.
More from my site

It is necessary to treat the walls with putty before finishing, if you are going to glue wallpaper or, especially, paint a wall. Before installing the panels, you don’t need to putty anything, just plaster the surface and level it.
Currently, water-dispersed types of putties are used for interior work. Dry mixtures are also popular (to prepare the working composition, you need to dilute them with water, usually to the consistency of viscous sour cream). There are also acrylic varieties, they are used both in interiors and on facades, although there is also a special facade putty. Usually the packaging of the material contains information about what it is intended for.
How to putty walls for painting
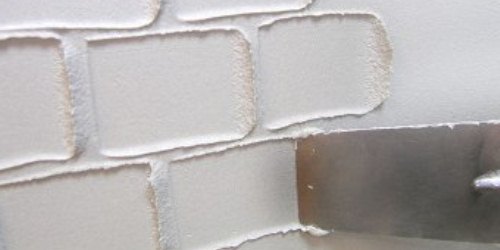
You can putty the walls yourself, the main thing is to follow the technology:
1. The wall must already be plastered and leveled. Now it should be primed to improve the adhesion of the putty to the surface and for antiseptic purposes.
2. You need to putty with a large spatula and use a small one to apply the putty solution to the surface of the worker. When an even layer is formed on the spatula, move the tool along the surface to be treated at an angle of about twenty degrees in a diagonal direction.
Video “Do-it-yourself wall putty”:
The next stroke should be made with an overlap on the previous one so that the coating lays down in an even layer, without bumps or dips. You need to start from the corner. The corner is drawn out with a special corner spatula. The layer of material applied at a time should be no more than half a centimeter, otherwise the surface will crack after drying. Drying times are indicated in the instructions for use; they can be from half an hour to a day.
Tip: if you are a beginner, do not start with putty, which dries quickly. You will be tortured by diluting the composition in tiny portions, but in large portions it will set right in the ditch.
3. The dried putty must be leveled with fine emery cloth.
4. Place the soil again.
5. Apply the next layer of putty. This time you should try to lay the material as evenly as possible. A large spatula is suitable for this purpose. work surface(up to eighty centimeters).

6. After puttying, if the layer is thick enough, it is advisable to place a painting mesh on the surface. It is placed on the glue and covered with glue again.
Puttying of walls for painting is completed.
Before you paint the wall in one shade or another, you need to give the surface beautiful view. When preparing a wall for painting, you need to take it with all responsibility, because under a thin layer of paint, unlike thick wallpaper, even the slightest errors and irregularities will be visible. In this article we will describe the technology of puttying walls for painting.
When starting to paint the walls, they need to be prepared. The old coating, be it paint, wallpaper or tiles, needs to be cleaned off. If the plastered surface has bulges, cracks and other unreliable areas, they should be beaten and sealed with fresh mortar. Only after this can the wall be leveled with putty.
The puttying process consists of several stages. The material is applied to the walls in layers, allowing each layer to dry thoroughly. After drying, the surface is sanded, primed and the next layer is applied. This type of work takes at least several days.
Why should walls be painted over putty? Unlike coarse plaster, putty is made up of much smaller particles. If you apply paint directly to the plaster, all the smallest irregularities and roughness will be very noticeable. But a thin layer of putty will help make the surface almost perfectly smooth, and in order for the material to stick better to the wall, it is advisable to open the plastered surface with a deep penetration primer.
The process of applying putty for painting begins with a starting layer, which can be conveniently done using a wide spatula. The starting putty is applied in a layer of several millimeters; its thickness should be sufficient to hide all noticeable depressions and irregularities. After some time, when the material is completely dry, it is rubbed down and covered with a primer composition. After this, a layer of finishing putty is applied; as a rule, it is finer and very white. The finishing material allows you to create a flat, smooth, snow-white surface, ready for painting in any shade. In some cases where the wall is too crooked or rough, an additional base coat may be needed.
A wall ready for painting consists of several layers:
- The first layer is the base, made of concrete, wood, brick, cinder blocks or other materials.
- Plaster constitutes the second layer, the purpose of which is to insulate and protect the walls, as well as their leveling. The thickness of the plaster ranges from 5 to 55 mm.
- The starting layer of putty hides imperfections that are present on the dried plaster. The base putty is applied in a layer of 3 to 15 mm, depending on the evenness of the wall.
- The finishing layer of putty is thinner, its thickness rarely exceeds 2 mm.
- If the wall needs to be made perfectly smooth, you can cover it with another layer of superfinish putty, the thickness of which is about 1 mm.
When plastering and filling walls, it is important to remember that all materials must dry naturally on the wall. If you use a heater or fan heater to speed up the process, the cladding will crack and crumble.
Types of putties
When deciding which putty to choose for painting, you need to know what types this building material is divided into:
- Cement putty is considered a reliable material that is practically not affected by moisture. A similar composition can be used in finishing kitchens, toilets, bathrooms and other rooms where there is often high humidity. Cement composition is rarely used as a finishing layer, because after drying the wall turns gray, and this color can show through light paint or thin wallpaper.
- Gypsum putty does not tolerate high humidity, therefore this material is used exclusively for finishing dry rooms: bedrooms, halls, living rooms. Drying on the wall, gypsum putty creates a beautiful smooth surface, which, moreover, has a snow-white color. You can paste wallpaper or paint on top of this material.
- The most modern, high-quality, but also the most expensive material is considered to be polymer putty. With its help, a finishing layer is applied to the walls. Plastic polymer putty hardens rather slowly, and after drying it forms a perfectly even and smooth texture on the wall.
Selecting putty and working tools
To work with putty, you should stock up on some tools, so you will need the following:
- A wide soft brush and roller with which you will prime the wall.
- To mix the putty in the container, you should stock up on a construction mixer. Instead, an ordinary electric drill with a special attachment will do; just keep in mind that it is better not to use the attachment for mixing paints.
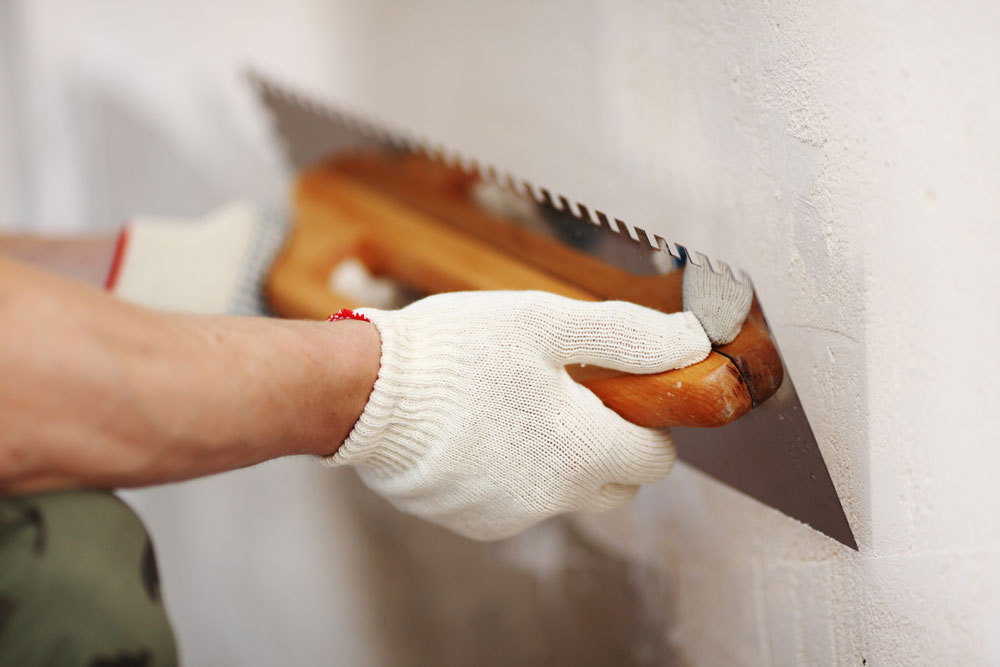
- The necessary tools for applying the composition to the wall are spatulas. There should be several of them, and they should all be different sizes. A large spatula, the width of which is 50-60 cm, will be needed to process large areas of the wall; with such a tool you can quickly cover a significant part of the surface. A medium spatula with a width of up to 25 cm is useful for applying putty in the corners of the room, and a small spatula with a width of 5-10 cm can penetrate hard-to-reach places or fill in small errors. It is also convenient to use a corner spatula for processing corners.
- Walls to be painted must be very even and smooth, so after treating them with putty, the dried material will need to be rubbed with a special grout mesh. It is advisable to use a fine-grained mesh.
You need to select putty based on what the walls in the room are made of and what the level of humidity in the room is. Many manufacturers offer customers special waterproof compounds that are suitable for cladding walls in bathrooms. As for manufacturers, the most popular companies in the modern construction market are Vetonit and Knauf.
For puttying before painting plasterboard walls, Knauf Fugenfuller joint sealing material or Knauf Multi-Finish finishing compound are often used. In order for the joints between individual sheets of drywall to be sealed efficiently and unnoticeably, the edges of the sheets must be cut at an angle of 45°. To ensure that the putty holds firmly, does not crack, come off or crumble, it is necessary to use reinforcing tape.
Before painting brick walls covered with a layer of plaster, you will need to apply 2 layers of putty to the surface: starting and finishing. Basic putty is designed to eliminate all irregularities, cracks, depressions, etc. on the walls. The finishing putty will give the surface a smooth texture and a finished look.
Important: using putty, you can only level out small defects on the wall, for example, narrow cracks or holes no more than 5-7 mm deep. If there are more significant defects on the surface being treated, it is better to use plaster.
Puttying of walls is carried out with preliminary application of a primer composition to the surface. To protect the building from fungi and mold or eliminate an existing problem, you can resort to help special primers, which contain fungicides. You can do it differently by first covering the wall with antifungal agents, on top of which you will putty.

Do-it-yourself putty on walls for painting
Preparing the surface for putty
There are several types of surfaces made from various materials and differing in their texture and texture. When puttingtying walls for painting, you need to consider what kind of surface you will be treating. There are several types of walls:
- smooth plastered surface;
- facing material with pronounced relief;
- wall covered with textured plaster;
- tiles, wallpaper, wood panels, plastic modules or others facing materials with a smooth surface.
The wall that is planned to be painted must be smooth and not have pronounced irregularities or differences. To eliminate all kinds of defects, you can use one of the following methods:
- sand the uneven surface;
- cover the wall with plaster;
- level the surface by installing sheets of drywall on it.
You can sand the wall only if you are sure that it is strong enough and does not have cracks or damage that could threaten the integrity of the structure due to its treatment with grinding materials. The surface is sanded with sandpaper or an emery block, removing the previous coating and part of the plaster from the wall. After completing this process, it is necessary to apply antiseptic compounds to protect the room from the growth of fungi and mold. Then the walls should be coated with a primer, and those places that are already affected by fungus or mold should be cleaned and sealed plaster mortar. The wall ready for puttying should be fairly level, with level differences of no more than 2 mm.
If the coating on the wall is too old, the plaster bubbles, comes off and crumbles - it is better to remove it completely and re-plaster the walls themselves or cover them with sheets of plasterboard. The appropriate option is chosen based on financial considerations, personal preferences, availability of free time, wall features, etc.
Before filling, the prepared surface is primed and left until completely dry - this will take at least 6 hours. It is not recommended to start work earlier than scheduled, otherwise the quality of the coating may suffer.
The preparation of some surfaces for painting has a slightly different algorithm. For example, wood does not need to be additionally plastered and covered with several layers of putty. Wood for painting is simply sanded, and the most noticeable and deep irregularities are covered with putty. Then such a wall is covered with antiseptic compounds to protect against insects, fungi and mold. You can also use fire retardants to make the material less flammable. After all the work has been completed, the wood can be painted or varnished.
Surfaces with a pronounced relief, for example, textured plaster or wallpaper, are simply coated with a primer, and then begin painting.
Puttying walls for painting: applying a starting layer
It is worth noting that applying paint directly to sheets of drywall or cement plaster impossible, because the data Construction Materials They are highly porous and absorb liquids well. In this case, it will not be possible to obtain a uniform and beautiful layer of paint, so plastered walls and plasterboard walls must first be puttied.
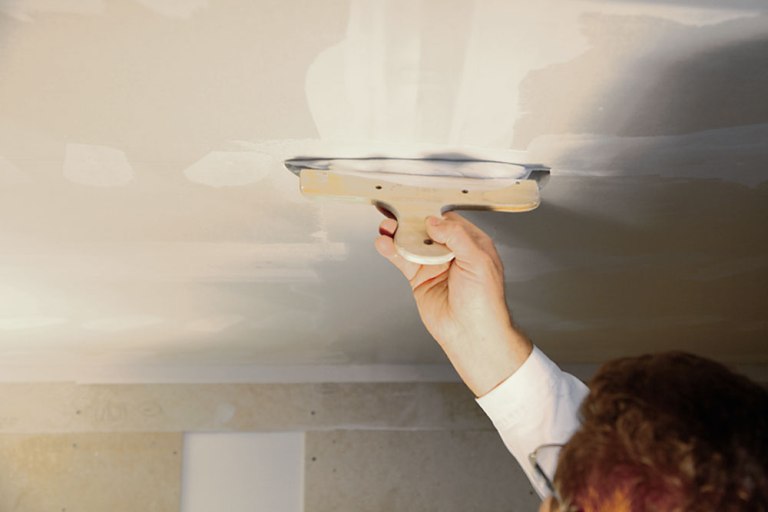
The starting putty, which contains fine-grained sand, is designed to create a sufficiently dense and thick layer on the surface that will hide minor irregularities in the wall. The starting layer is applied with a large spatula, the width of which ranges from 60 to 80 cm. The material is leveled over a large tool with a small spatula up to 25 cm wide. The same device is convenient for sealing and correcting small errors on the wall.
You need to make the solution immediately before starting work, since the finished putty is not stored for a long time, hardening approximately 45 minutes after diluting the mass with water. The solution is prepared according to the instructions on the product packaging. Note that ready-made putties, which do not need to be diluted with water, also set approximately 45 minutes after opening the can.
When filling walls for painting, it is better to use a reinforcing mesh with a mesh size of about 2 mm. Using a wide spatula, apply a starting layer of material to the wall; its thickness should be approximately 2 mm, and its width should be equal to the width of the mesh fragment. Then a mesh is placed over the putty and pressed slightly onto the mortar with a spatula. The mesh is covered with another layer of putty.
Many beginners, doing this kind of work for the first time, try to make the wall perfectly smooth and even the first time, for which they carefully and for a long time smooth out the stripes that form along the edges of the spatula. There is no need in this procedure; the most important thing is to apply the material in such a way as to fill all the recesses on the wall and not leave any areas not covered with putty. The stripes that remain from the spatula can be smoothed out a little, and after the material has dried, simply rub them over.
It will take 6 to 8 hours for the starting layer of putty to dry; after the material has completely dried, you can sand it using an abrasive mesh. For this type of work, it is better to use a coarse mesh with large grains. After sanding, the wall surface becomes smooth, but its texture is still not smooth enough, so painting work cannot be carried out before applying the finishing putty.
Applying finishing putty for painting
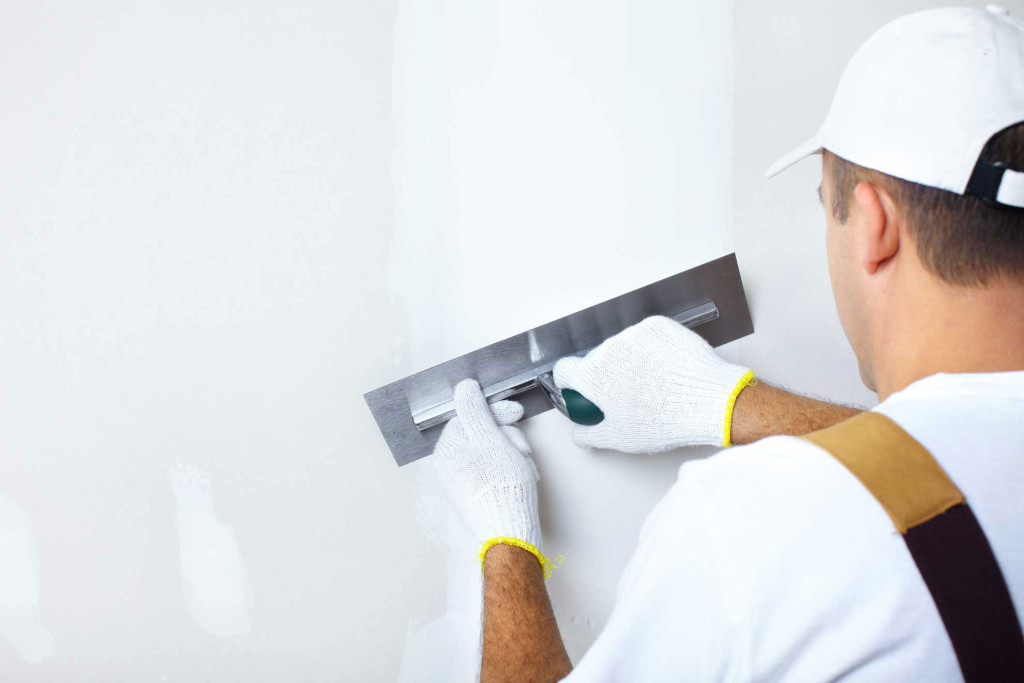
The materials used to create the finishing layer do not contain sand or other granular substances, so the resulting surface is smooth, and the material itself, after drying, becomes dense and is almost not saturated with paint. The method of working with finishing putty is no different from that described above. Wide and narrow spatulas are also used for work, but the layer of material should not be too thick, otherwise the putty will crack after drying. Optimal thickness The finishing layer is considered to be 1.5-2 mm. The finishing putty also needs sanding after drying. You need to sand the wall with a small grit abrasive mesh.
If the first layer of finishing putty does not give the expected result, you can apply 1-2 additional layers. The easiest way to check the quality of the work done is with a spotlight or lamp, directing the rays at an acute angle to the wall.
When the last finishing layer has hardened, it must be thoroughly rubbed with an abrasive mesh and opened with a primer. Before priming the wall, dust and other small particles that remain during the work process should be removed from the surface. This can be done either with a vacuum cleaner or with an ordinary dry rag.
